Tuesday, 8 September 2015

Steampunk for my niece ...

This card represents so many things that I don't normally do that I am surprised that it has ended up presentable.  I've used a digi stamp which I haven't used before, there is patterned paper that I rarely use and the image is human!!  My, soon to be 8, great niece decided that she likes steampunk - so I felt it only right to encourage this change of style by creating this birthday card for her! But where to start ... find an image, look for a sketch and stop procrastinating!  This is it -


The image is a digi stamp 'Top Hat Marci' from La-La Land Crafts which I coloured with Zig markers before mounting on dimesional tape and adhering to the stamped background.

I plan on entering the following challenges:

Darnell's (djkardkreations) NBUS Challenge 5 - if you don't know Darnell and have not visited her blog then you really need to!  Darnell is one of the friendliest bloggers that I have 'met'.  Her blog is entertaining and fun and her cards are amazing. Pop along and check her out.  (NBUS means Never Before Used Schtuff)


TIME OUT Challenge #39  Make Your Mark

Fusion Card Challenge  I used the sketch element of the challenge as my starting point for the layout.


I used:
La-La Land Crafts - Top Hat Marci
Zig Real Brush Clean Color Markers
Justrite Deluxe Round Monogram Kit
Stampin Up - Off the Grid
Stampin Up - Baked Brown Sugar

Enjoy!

Sunday, 6 September 2015

Bauble Joy ...

A quick post this evening with a second card for the challenge at "Less is More" - colour theme Green and Gold.


Hopefully you can see the shimmer on the bauble
I took a piece of card and blended Mowed Lawn distress ink all over it and then brushed on perfect pearls to create the faux metal effect.  I embossed the panel and then cut out the baubles - the embossing is quite subtle as I should have cut the baubles before embossing but I had a senior moment and did it the wrong!  The sentiment and the tops of the baubles were die cut from gold card.  The finished card doesn't look quite right - I think it would have worked better without 'joy' but it's too late now.

I used:
Sizzix Holly Swirls Embossing Folder
Memory Box, Classic ornament die
Distress Ink - Mowed Lawn
Perfect Pearls - perfect pearls
Lawn Cuts Joy die
Embroidery thread.

Enjoy!

Christmas tree ...

Well, it's been a busy and hectic week ... It was back to work on Thursday so time for crafting is limited to evenings.  That doesn't mean I can't spend the weekends crafting (in between housework, of course!).

This is the first card I completed:


It is colour challenge week at "Less is More" and the colour choice is Green and Gold.  I die cut the tree before heat embossing using versamark and gold embossing powder three times! I die cut three more trees in white card and then stacked them together.  I used the negative of the die as a stencil and sprayed some distress ink (left over spray from last week's challenge) through to add colour behind the tree.  The tree is flat on the main card with a frame added using foam adhesive to add dimension and depth to the card.

I used:
Spray made with - Distress reinkers in Salty Ocean, Mowed Lawn and Squeezed Lemonade
Cosmic Shimmer Gold Embossing Powder
Memory Box - Kensington Christmas Tree die
Stampin Up - Endless Wishes

I'm entering the following challenges:

"Less is More" Week 240 Colour Challenge, Green and Gold
AAA Cards Challenge 47 - Spectacular Embossing.


Enjoy!

Tuesday, 1 September 2015

Today is your day ...

The countdown has begun for term to start and for me to be back at work ... I popped in for a few hours today but start in earnest on Thursday!  I do enjoy being on holiday and only wish I could afford to retire or that I could earn money crafting but unless I win the lottery I will still be going out to work for a few more years.

I have squeezed in some craft this afternoon and this is the end result:


Not a flower in sight!!  I cut up some card into strips for the white on white background - I've seen a background die that creates this effect but felt sure I could recreate it with my guillotine! The strips are adhered flat to the card base.  I stamped the main sentiment with versamark on a scrap of card coloured with acrylic ultramarine paint before adding embossing powder and heat embossing it.  I coloured some card with festive berries distress ink and then die cut 'Be' and 'happy' - once in the red card and then twice in white card, stacked the die cuts and added them to the card.

I used:
Kaisercraft Clear Stamp - Today
Stampendous White Embossing Powder
'Be' Simon Says Stamp
'Happy' Clearly Besotted
Festive Berries distress ink.

I am entering the following challenges:

Stamping Sensations - August challenge, anything goes with stamps and dies

TIME OUT Challenge - as you will see I was inspired by the photograph:


Enjoy!

Saturday, 29 August 2015

Delphinium Blues ...

Good afternoon!  It has been a lovely start to my weekend as I was lucky enough to be invited to be a Guest designer at "Less is More" and my card went live this morning ... I've already received some lovely comments on my card, comments and kind wishes that I cherish.

This post is all about trying a new technique - an attempt to create something different with an embossing folder.  In the deep, dark recesses of my brain I read about or watched someone emboss a piece of coloured card and then brayer some white paint over the top - I liked the idea so thought I would give it a go with a twist (if I ever remember where I saw it I'll let you know!).  This is the end result:


The embossing is not that clear to see in the photograph but it has provided a great deal of texture to the flowers.  I began by embossing a piece of water colour card (this is the twist as I used white card and coloured paint rather than coloured card and white paint!) with a Sheena Douglass perfect partners embossing folder.  I then lightly brayed some ultramarine acrylic paint over the image - trying to keep the paint on the raised ridges.  This is how the panel looked:


When the paint was dry I fussy cut the blooms before colouring with a Zig Clean color marker and some water - it took ages!  I might try the technique with a different folder and no fussy cutting!

I used:

Sheena Douglass Perfect Partners Embossing Folder
Zig Clean Color Real Brush Marker - Blue
Daler Rowney System 3 Acrylic Paint - Ultramarine
Clearly Besotted Pretty Petals Plus Stamp set

I am entering the following challenge:

Addicted to CAS Challenge 71


Enjoy!

LIM Guest Designer ...

I am excited and honoured to have been asked by Chrissie - "Less is More" - to be a Guest Designer this weekend for the last challenge of the month.  As always I jumped in with both feet without knowing details about the theme/topic/recipe of the challenge and said "Yes, of course I would love to be a Guest Designer".  Imagine my surprise (delight) when Chrissie told me that the recipe is Spray Mists - what is one of the items my craft stash is lacking?  Yes, you've guessed - Spray Mists!!

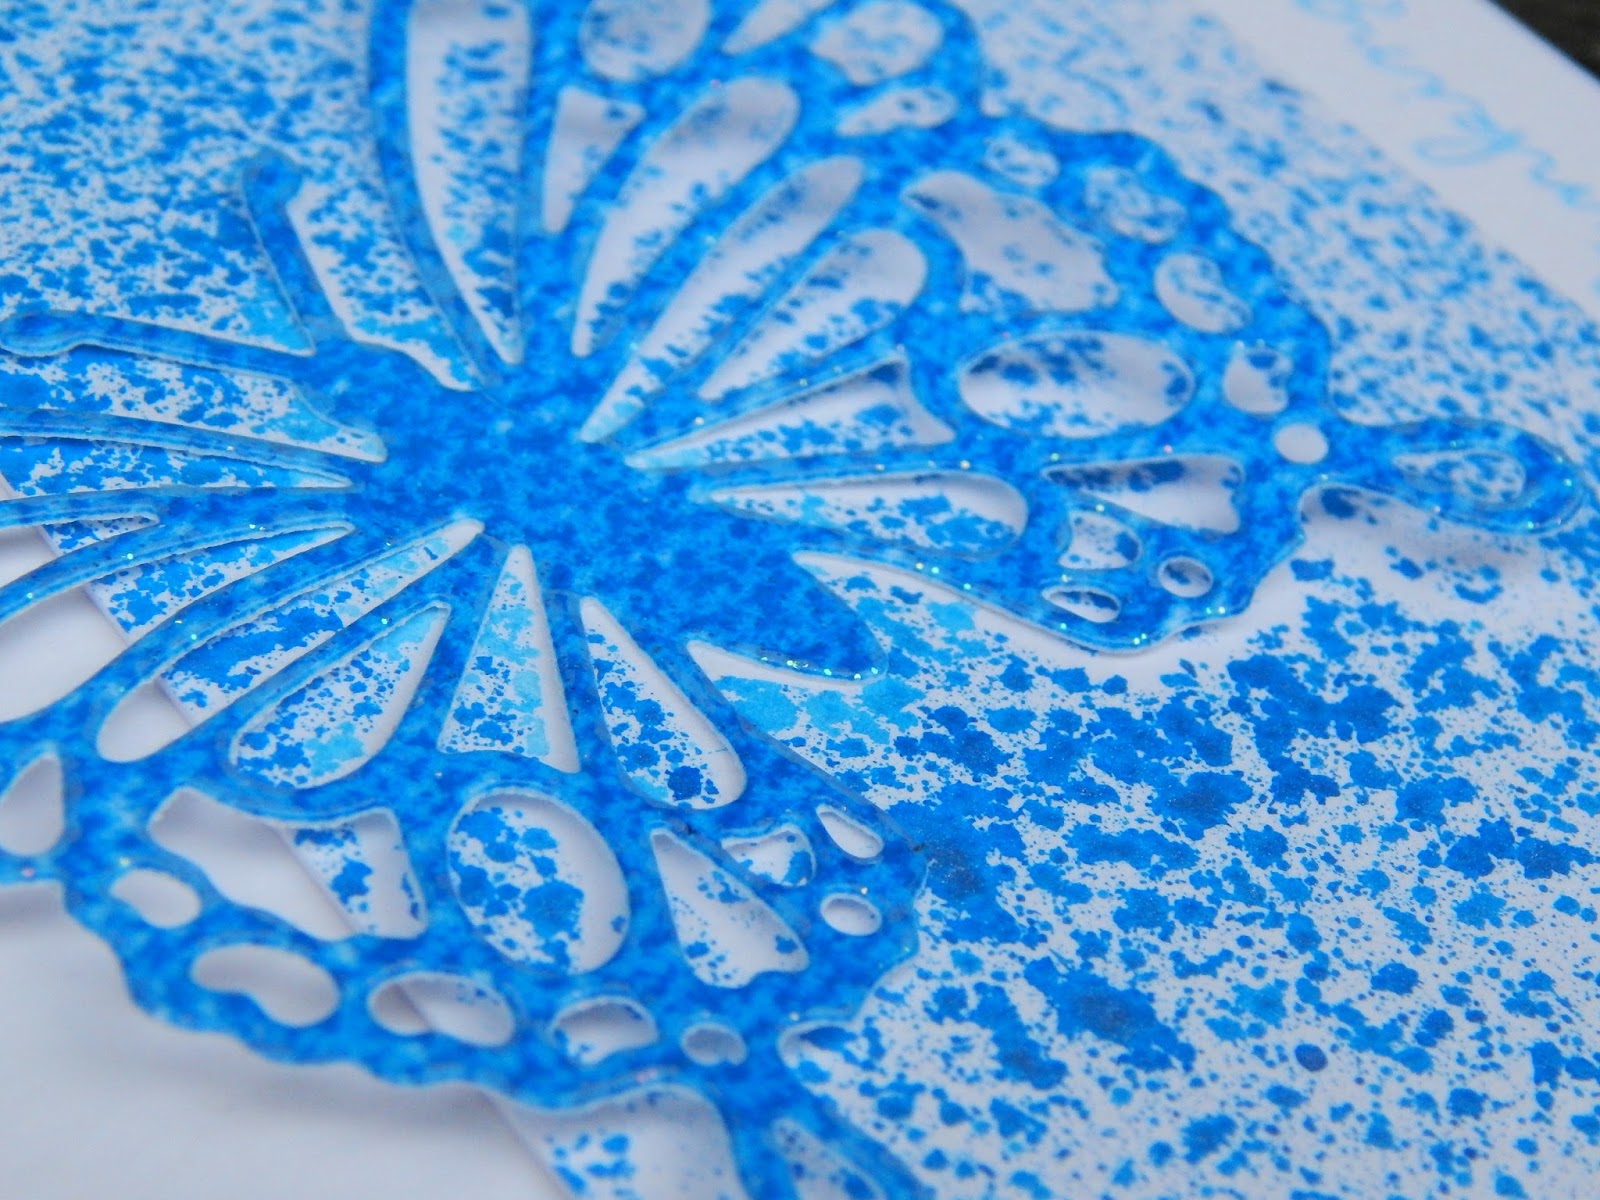
So the process began by creating a spray (or two!).  I took some Salty Ocean Distress ink added some perfect pearls and some water - it took quite a few attempts before I was 'happy' with the intensity of the colour.  It then took quite a lot of card to work out how to get the spray effect that looked right - enough to look like spray but not too much to cove the card!  This is it:


I used the spray to colour a panel of card, using a die cut butterfly as a stencil.  I trimmed the panel and sprayed the die cut and then heat embossed it with clear embossing powder.  I adhered the panel to a square card before adding the butterfly (gluing only the body to add dimension) and finished by stamping a sentiment with the same Salty Ocean Distress Ink.

Ingredients include:
Perfect Pearls
Salty Ocean Distress Ink
Simon Says Stamp Handwritten Borders
Sweet Dixie Butterfly Die
Crafter's Companion Water Colour Card.

Enjoy!

Thursday, 27 August 2015

Happy 40th ...

A quick post this evening to share this card:


It's my nephew's 40th birthday next month so I needed to create a suitable card.  To say I was struggling to come up with an idea is an understatement - I went on the hunt for inspiration!  I watched a video with Jennifer McGuire creating faux metal card with perfect pearls - I liked the effect so thought I would have a go.  

I took a small panel of card and blended three distress inks across the whole of the panel and then brushed over it with perfect pearls.  Finally I "polished" the panel then die cut the number 40 before embossing the panel using a number embossing folder.  I cut 4 or 5 additional number 40s before stacking and gluing them together.  Added a sentiment and that was that!!

I used:
Distress Inks - Peacock Feathers, Salty Ocean and Chipped Sapphire
Perfect Pearls - Perfect Pearls
Numbers Embossing Folder - Cuttlebug
Clearly Besotted Geometric Style Stamp set for the sentiment.

I am entering the following challenges:

Seize the Birthday Challenge
Simon Says Stamp Blog Wednesday Challenge "Anything Goes"

Enjoy!